Welcome - come enjoy my Garden with me

My Garden although it may be small is my garden. I love working in the garden and showing or telling others about it. While you are here take a look around. There is a lot to see. Take a look at the other blogs I love to read. Leave a comment if you like. But most of all. Enjoy your time here, and come back soon.

Tuesday, December 28, 2010

Coke bottle fun

Have you ever gone into Walmart right before a holiday or big event?  Seen the Odd Shaped Coke Bottles?  Like around Super Bowl time....Football shapes, or Ball shaped in December.  Well here is a cool thing you can do.  It combines your garden and crafts.


Potpourri in a bottle:

Make a gift for that special football lover, or an ornament for the tree.  Here is how.

Step 1 - Drink the coke.  Very important step.
Step 0.5 - Buy the bottle - Guess we should do that first huh
Step 2 - Rinse the bottle well and dry out as best as you can
Step 2.5 - Remove lable
Step 3 - ADULTS ONLY FOR THIS STEP PLEASE!!!! Using a knife/scissors/utility knife cut small holes around the bottle.  I did 4 around the middle.  This step allows the smell of what we put in to come out.
Step 4 - Chose the scent - Any nice smelling Herb is good, rose peddles....etc be creative
Step 5 - Add scent to bottle - best to have dried herbs but fresh cut is fine
Step 6 - Replace the cap on top - keeps the mess down...
Step 7 - Add colorful yarn around the neck of the bottle....making sure that it is tight enough to hold the bottle if hung.
Step 8 - Give to recipient....or self

Here are the 2 that I have in th house.  The Snowball Coke Bottles.


Have some lavender?  Add it to a bottle.  Add yarn if you please.  Or like me I just have it sitting on my desk.  Every so often I like to give it a little shake to let a fresh burst of Lavender into the air.

Here we have Cedar Shavings.  They smell great and again shake for a fresh burst of scent.

For the hanging ones I added a ziptie around the neck first and tied the year to that.  But each bottle has 4 hold around it's middle .  I chose the middle because with Herbs after a while shaking will also crush the dried herbs....and you may make a mess.  I am sure that there is a far better way to allow the smells escape but as of yet I don't have one.  

I don't recommend glueing the top onto the bottle so that you can change the herbs out or just change scents. Or add more.  

Granted the guys in your life may not like this but the ladies will.  And it can make for an interesting conversation piece.


Friday, December 24, 2010

Christmas Eve

As this Christmas eve day began thoughts of Christmas past came to mind.  Everyone has traditions.  Some from when they were young and some that have just happened over the years.  Although parts are almost always the same it's the little things that make each year one to remember.

Growing up the oldest of 5 kids meant a lot of noise, lots of wrapping paper, and lots of fun.  Gathering with family and traditions that never grow old.


Today was our gathering of my Dad's side of the family.  Memories of Christmas past and other of our many gatherings.  Elbows in the side between cousins.  Games played around the table.  Food for all and deserts we all love.  Even my kids who have only been a part of this tradition since we moved up here have their favorite parts.  For Shannon it's Grandma's crackers, and Aiden the Piano and toys.  Us kids growing up all had different things that we looked fwd to each time we went.  Christmas wasn't about the gifts when we were at my Dad's folks house.  It was about the picking on each other, the food, the fun and games we always had.  This year was no exception.  Though instead of Christmas Day like when I was growing up it was Christmas Eve.  Not that it changed the fun we had.  I still picked on my cousin....my daughter even started picking on him too.  The buffet style lunch/snack/dinner was as always wonderful and unique.  The adults picked on the kids, the kids picked back.  4 Generations of family in one house meant a lot of noise but lots of fun.

As this day comes to a close I would like to wish you all a very Merry Christmas.  Drive Carefully if you happen to be traveling.  Enjoy your time with loved ones.  Treasure the moments, and the memories they make.  Share the memories with your young ones.  Let them know how your traditions today came from things of the past.

Wednesday, December 22, 2010

Trying something new

I have been looking for a while now for something that I could do to make money but stay at home.  A week or so ago I saw an ad for a work at home job.  So I got more information.  What I found out was that it was for a wellness company called Melaleuca.  Where they didn't want me to spend more money to make money but to switch stores basically.  OK at first this was kinda strange sounding but I really wanted to try something so I thought I would look into it.  I was introduced to Suzy who is now one of my team members and my Mentor.


Hi Suzy!!

She told me a little about the company and also about herself.  She then invited me to a live webcast where they would go into more details about the company and stuff.  I have to say having a visual explanation of the company was pretty cool.

Anyways as I watched/listened to the webcast I learned about the products that they have.  Green, non toxic, less expensive than most store brands.  And all they wanted me to do was buy their stuff not say walmarts?  OK whats the catch right?  Well being sceptic I wasn't sure what to think.  It sounded good.  So like I was taught....I did some research.  It seems that what the video was telling me has some truth to it.  Well thats cool.

Another thing that I really like about the presentation was that it told me about how I can make it into a bussiness and all but that I don't have too.  If I don't like anything I get I send it back and get a 100% refund.  Well thats always comforting.

So the next day when I talked to Suzy again I decided that you know what I did read in several places about the money back guarantee so I am going to give it a try.  If it doesn't work....no risk.  The only thing I had to do was pay for the membership.  But guess what...first that was only $29 and it too is refundable, and two if I don't want to make it a business just be a customer it's the same price.  So basically it felt like I was buying a Sams club membership.  Big discounts for a small price.

Today I got my first order.  To stay a preferred customer they ask that you spent 35points a month.  Each product has a points value to it.  Most of the products are things I buy monthly anyways and basically 35points = $50.  Ok that I didn't like...lets be honest.  Thats a lot of money to say you WILL spend every month but....I got vitamins...ok the ones I got were just for the immune system.  I get sick way too much.  So hey the research I found said that the way these guys make their stuff makes it easier for the body to absorb....points for that of course.  I also got some lotion....winter is harsh on my hands and I just happened to be out of my intense lotion.  Lets see what else.  Oh yea some hand soap for me and for the kids.  One of the other things the presentation and others said was that all their stuff including cleaners is non toxic.

Anyways a few bucks later and I have a box of safe for kids and me things that we use all the time and a membership kit.  Explaining how to take that preferred membership and turn it into a business.  I have been giving it a go anyways with the help of Suzy and the totally awesome Skype support team we have.  But So far no luck.  But that will not bring me down.  No sir.  I am going to try my best to make a go.


Check back often for as I use the products I will tell you about them.  The good and the bad.  Got to be honest.  Until then.  Have a great holiday season everyone.


Tuesday, December 21, 2010

Mint the magical herb- The uses

So earlier we talked about growing, harvesting, and storing your mint.  Now lets talk about some of the reasons to grow mint and how to use it.

Uses for Mint in the Garden:


We already talked about the variety called Pennyroyal and it's mosquito repeling ability.  It is the strongest of all the the mints in smells but that doesn't mean the others don't have their own special garden powers.  Just plan ol' ordinary mint is used as a repellant for these pests:
Ants
Aphids
Cabbage Looper (Mostly just the Spearmint variety)
Fleas (Pennyroyal)
Flea Beetle
Fly (Pennyroyal)
Mosquitoes (Pennyroyal)
Squash Bug
White Cabbage Moth

Plant Mint with these plants to get a better yeild:
Beans
Broccoli
Cabbage
Cauliflower
Chinese Cabbage
Collards
Tomato
Roses (pennyroyal)

So you see Mint is very useful.  It's handy that it is a wonderful smelling plant as well.

Mint in the Kitchen and Medicine cabinet:


Most people hear mint and think candy-canes, peppermint patties, stuff from the kitchen.  Although yes it is good for that it also has some other uses when eaten.

Medicinal uses:
Digestive Aid
Cold
Flu (morning sickness too)
Stimulant (kinda like coffee)

So other than physically cooking with it how else can this wonder herb help these ailments?  Sachet, Jelly's, Candies, and my personal favorite....

MINT TEA!

And man does it taste good.   So good I have pictures and instructions to make a nice glass of hot or cold mint tea.  Perfect for that cold you are trying to fight off as winter has arrived.

Ingredients:
Boiling water - 6 cups
Dried Mint leaves - 1-2 Tbps
A tea diffuser


To start get that water going in the tea pot.  It's easiest also to have a separate container to actually brew the tea in.  Gather your dried mint.  I put them on a plate so that I could crush them to release the oils.


A good close up of the mint...partially crushed


This is your diffuser.  Once you have the mint crushed put them in this.  This is then placed into your container and boiling water is poured over it.


Aiden guy wanted to help me by wiggling the container to help mix it up.  It is best to leave the diffuser in the water for about 10 min.  I put the lid on to help keep the heat in.


Beleive it or not the mint turned the water to a more tea looking color.  The trick to this part is two fold.  If you are just going to drink the tea at this point flavor to your liking.  Add more water if too minty.  Add honey.  What every you like.  If you want to use it to help clear up the sinuses I would use more mint and less water.  This way the smell is stronger.  In this case you may just want to inhale the vapors.  Although drinking the tea while still hot will do this as well.  If you prefer your tea cold.  As some ice.  It's perfect for the summer.

So as your days are getting colder and the colds are getting stronger, go get some of that dried mint and make some hot tea.....or make some hot chocolate just use minty hot water.....

Until next time.  Have a wonderful Holiday.


Mint the magical herb

A popular herb for making candies, mint has many more uses than just playing with your taste-bud's.  This versatile herb has medicinal purposes as well as the culinary.  But something else most don't know is how important this wonderful smelling plant is in the garden..

So lets learn a little about Mint

Growing Mint:


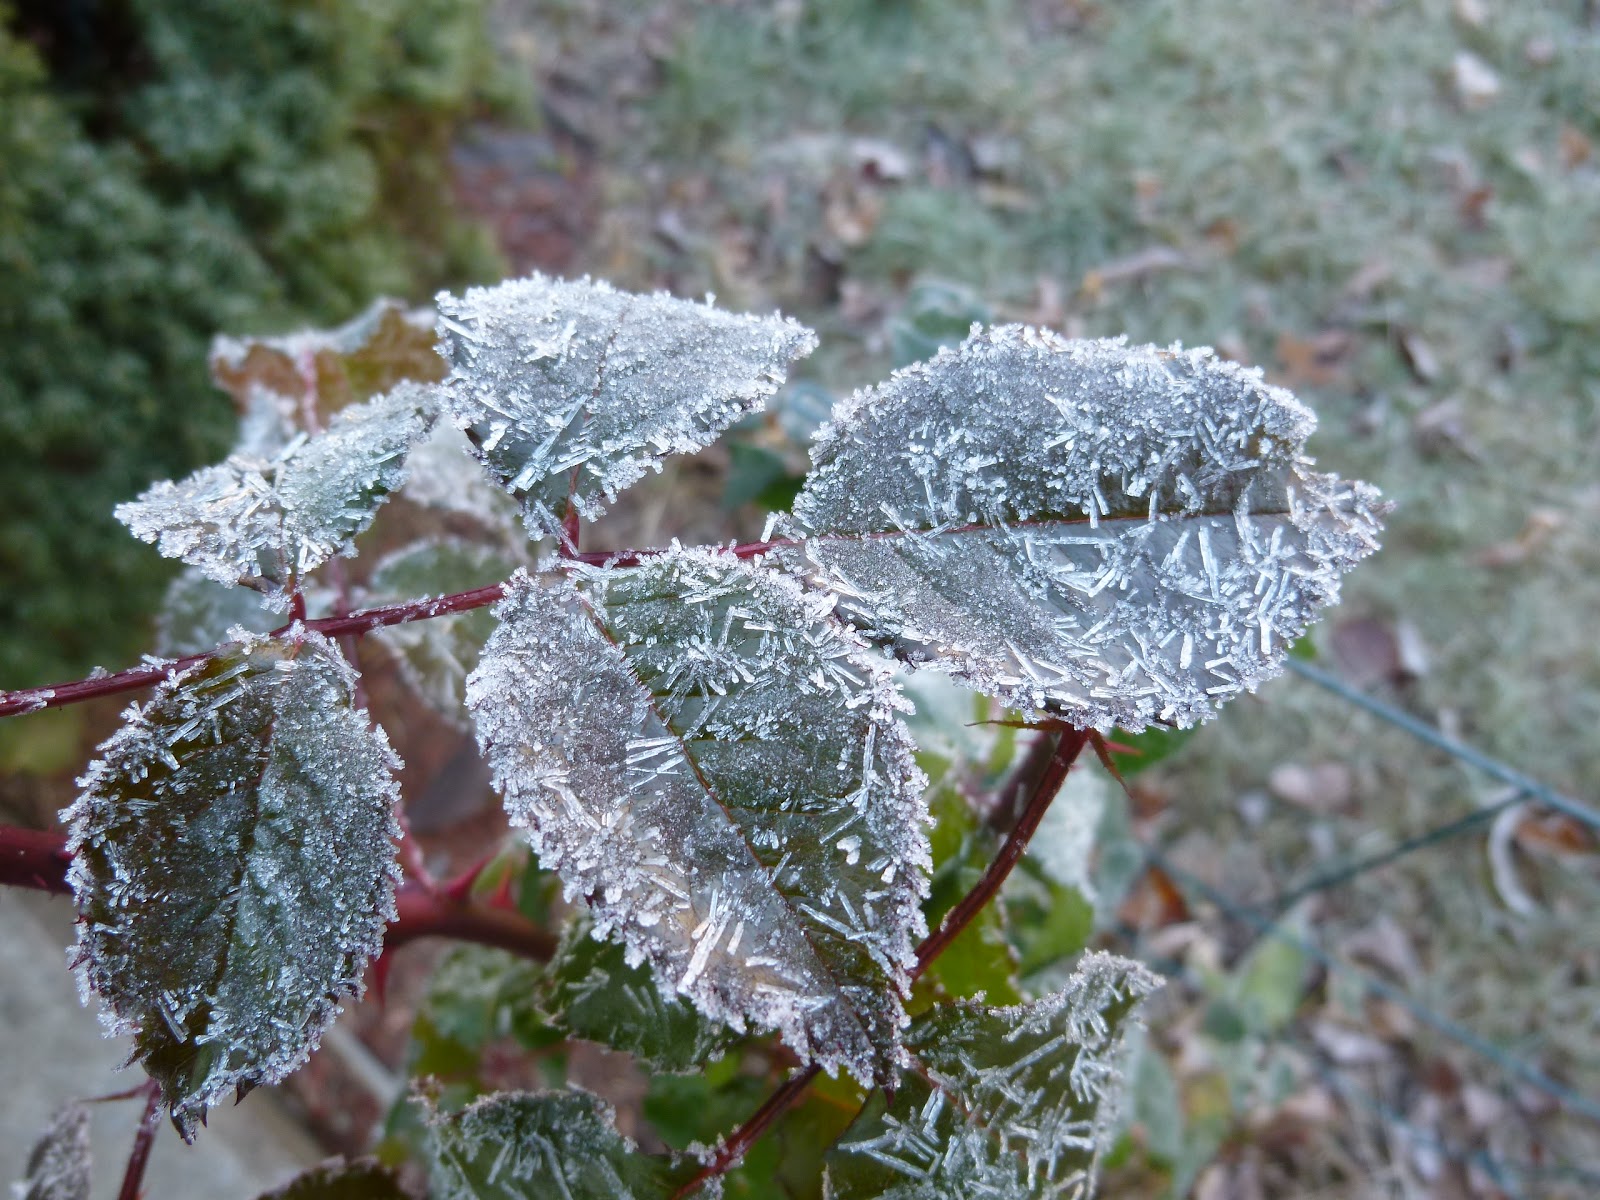
There are many different varieties of mint, and they all have one big thing in common.  They are very invasive.  Now hold on thats not a bad thing....ok it can be but it can be controlled.  Mint is a wonderful container plant.  Check out this Pennyroyal plant:
A little wild and everywhere but....this plant in particular you want in a container and a container everywhere you may be.  Pennyroyal is a VERY strong scented herb.  (WARNING - PENNYROYAL IS NOT EDIBLE)  So strong scented in fact it is commonly used in aromatherapy.  But it true claim to fame is it mosquito repellent capabilities.  Yup those pesky bugs we deal with in the summer time hate this plant.  So although not grown for cooking....a very valuable plant.

Mint in general like I said is invasive.  You can plant in containers or in the ground.  If in the garden though you may want to plant it in a container that you also put into the ground.  Mint can also grow very very fast...so watch out.  They are also very hardy.  You may think they are dead....but keep watering and you would be surprised as to what may just come back.  Mint is also a perennial herb...yup thats right it keeps coming back.

Harvesting Mint:


Now for my favorite part of having mint growing in the garden.  You get up one morning and go to tend to your plants and instead of this:
A small tame mint plant you find this:

Mint over taking it's place.
Is this bad?  Goodness no....it just means you get to harvest.  Since it is morning get out those sharp herb cutters we call scissors and cut.  Now if you really want go ahead and cut all the way down to the dirt.  But I find (and it's recommended) that if you cut down to the last 2 sets of leaves on the stem...it stays bushy and will provide you will a lot more harvests.  Some people say not to harvest until you see blooms forming.  But I am impatient and have found no problem with harvesting before there is even a sign of a bud.  Course if you want seeds you have to let it go.  

In the morning the smell and the mint oil's are at their peak-est.  Meaning when you cut the stem you will smell it...and your fingers will for a while too.....hmmmmmm mint.

Harvested Mint leaves:

So now you have some fresh cut stems.  What to do now? Well if you want you can use some now.  You can put the stems into a cup of water and enjoy their fresh smell for up to a week.  Or you can always dry them..


Just look at those freshly cut mint stems.

There are 2 ways that you can dry them.  One is to gather these herbs by the base of the stem and tie them together.


Pretty much like this.  I like to use twist ties.


After that place them into a paper bag and hang in a cool dry place.  Make sure if you have more herbs drying you lable your bags with what and when.  Can get confusing.


Or if this just doesn't sound like something you want to do you can do my favorite way of drying them...is keeping them loose and putting them in laundry bags.....

Like these -  They are great for allowing air to flow around the herbs.  Making them dry more even and sometimes a little faster.  Also you can tell when they are done easier.  With out disturbing them as much.

Word of caution - Please make sure that you lable some how so you know what herbs are in what bag and when you put them there.  I know from experiance that oregano and mint look a lot alike when they are dry.  I put a # on each bag and then in a special notebook I write what I put in that #'d bag and when.  The when isn't always necessary unless you like to keep track of how often you harvest.  But it can also help you to know when to start checking to see if they are done or not.  Usually it takes about a week.  I hang mine in the laundry room.  It gets the least amount of sun, heat from furnace, and far less traffic.  Yes the dryer does add some heat to the air but it doesn't seem to effect them.

Once they are dry store them in an air tight container.  Glass is best.  I like to use the small Jelly canning jars.  They are seethru and hold a lot.  When you go to store them just the leaves.  The stems are not really edible.  A good way to tell if they are ready to store is if you run your fingers down the stem the leaves fall off.

Next:  Using your dried mint.


Friday, December 17, 2010

Bloom Day December 15th, 2010

A little late on my post for this as it is now the 17th but I have pictures of what I found blooming in my garden on Bloom day.


My African Violets were pretty in bloom and still are.  Well 2 out of the 3 are.  The other one is done blooming for a little bit.  Course I need to trim the older blooms but well I will get there. 

I hope you all had a good day.  Here is a link to other gardeners participating in Garden Bloggers Bloom Day.  Lots of pretty flowers.  Enjoy

Sunday, December 12, 2010

Herbs in the kitchen - Garlic Chives

Growing, Harvesting, Saving, and Using Garlic Chives in the Kitchen
Since it is winter and all I thought that maybe some tips about herbs and their uses would be handy.  My sister Melanie writes a blog that started with trying new things in the kitchen.  She has tons of different dishes for readers to try.  She has even writen a post here on my blog.  Well I could never be as good a cook as her, she just has this passion for it.  But since reading her stuff and starting my gardening adventures I have been trying to get a little bit more creative in the kitchen.  Finding ways to bring my garden to the table. 

So in honor of my little sister I tried something new last night and would like to share it with you.

For the first Herbs in the Kitchen post I bring to you the Herb:

Garlic Chives

More commonly known as the Chineese herb or Chineese Chives.  Found in a lot of their dishes. 
Growing, Harvesting, Saving:
They have a Garlic/Onion smell to them.  Easy to grow, but not as easy to to preserve.  Ok thats only partially true.  Chives don't really dry well like most other herbs.  Maybe I am just doing wrong....and that is very possible as I am still new.  But I found that Freezing them work great.  The nice thing about freezing herbs is that when you go to use them you are actually using them in their fresh state.

Lets start at the begining.  1st of course you would need a plant and have it growing in your garden.  Whether that garden is pots on a balcony, or on your window sill, or in the ground in the yard.  From the above picture you can see that this herb looks a lot like grass.  And to be honest it kinda grows like grass.  The more you cut it the more it grows.  As long as like grass it has water and sun.

So you have the herbs growing.  Good now...time to harvest.  For this herb there is no real time period as to when you can or can 't harvest.  If there are green leaves (grass blades) you can harvest.  But the longer they are and the older the plant the better you are ofcourse.  So you want to use some just head out to their location and simply cut them.  It's best to leave at least 1/2inch above the soil when you cut. 

Now the next step for us is going to be the freezing of the chives.  Cut the chives so that they are smaller.  Basically chop them as if you were going to cook with them now.  Do you have a free icecube tray?

  Try these from the dollar store.  They are great little trays that make tube shapes icecubes.  Great for water bottles and I have found also for Herbs.  With a dry tray put your freshly cut chives (or any other herb you chose) into the tray.  Try to make it even accross.  The with a measuring cup add water to the tray.  I used a measuring cup because it would be easier to control the amount that went into each place with out loosing any herbs.  Once full simply put in the freezer.  Once Frozen-

You have Chives in and icetube.  The really nice thing also about this is just take out a tube from the freezer and put it in what ever dish you are making.  It adds a little water but usually not enough to have to alter other ingredients.  Make sure you put these tubes of chives into a ziplock back and lable it.  When frozen all herbs tend to look alike.
Useing:

Now for useing these frozen little treasures.  I used them for Pork Chops.

Pork Chops with Garlic Chives and Worcestershire sauce.

Ingredients:

4 Pork Chops
3/4c Worchestershire sauce (w-sauce)
3-4 Frozen chive tubes
1/4c French Fried Onions

Not being a big fan of pork chops I am always looking for ways to cook them.  These 4 chops above I cut at least in half.  Mainly to reduce cooking time but also cause I like to remove as much fat as I can...and that kinda make pork peices instead of chops.  But I wanted to show the size of them before there are 4 here.

So in a seperate bowl you will dip each chop into the W-sauce and then place into the warm frying pan.  In the pan add some of the cubes of chives.  The water will melt and help keep the chops from sticking as will the w-sauce.  Flip them often and stir the loose chives often as well.  For an added flavor I added the French fried onions and the rest of the chives after the chops had been cooking a few min.  If there is left over w-sauce in the bowl after all have been diped and and in the pan then add that to the pan as well.  Cook the pork untill no longer pink inside.  About 30 min over med heat.

The end result was a very moist pork chop that all ate.  If you want you can serve the french fried onions but we didn't....I just used them to add another flavor to the meal. 

Enjoy and let me know if you try this and how it comes out.

Be sure to stop by my sisters blog too and try some of her meals out.
http://www.itsmysideoflife.com/


Sunday, December 5, 2010

Preparing for winter

Something I recently read was the importance of preparing your garden beds for winter....or rather for the following spring.  Granted nature takes care of it's self out there with out our help but there are things that we can do to help nature along. 

As your growing season comes to a close like mine has it is important to understand a few things:

1) The difference between Annual and Perennial plants 
2) Dead and dormant plants
3) Protection vs no protection.

First lets talk about #1....Annual vs Perennial.  Well Annual plants are good for one growing season.  They more than likely can't survive a winter.  Does this mean that inside they can continue to grow?  Not always.  It just means that they can't take the cold and that they do not reseed them selves.  Some though have a very specific life cycle.  Now a Perennial plant is one that reseeds it's self and or can survive outside in the winter.  Morning Glories for example are actually a Perennial.  Though most of us will cut the plant back to the ground they will grow back the following year...in the same place.  But they will also spread...as they are a self seeding plant...unless you catch all the seeds.

Something that I have most recenly learned is to watch your plants durring a few frosts.  My rose bushes still have leaves and look fine...just a little stiff in the morning.  But my basil became droopy and died.  The Morning glories also did this...and they also started to smell rotten...but again they will come back.  Watch your plants and find out what they do.  Get a book and find out if they are annual or perennial. 

Ok for #2-  Dead vs Dormant.  A tree that has lost all it's leaves during the fall is not a dead tree right?  Mostlikely it is just dormant.  And come spring new leaves will emerge.  Dormant plants can look as though they are dead for a while but dead plants will usually start to take on a very different look.   This is also where knowing perennial vs annual will come in handy.  Some of my Mint plants have lost all their leaves and appear to be dead but I know that they are perennials so I leave them be cause they are just dormant.  Where my basil plants the leaves didn't fall off they just dried up and the stems became a lot thinner. 

Now for #3 Protecting the garden or not.  Well honestly I beleive you can go either way.  Established plants I feel are ok to go unprotected.  By Established I mean have been planted and survived at least one winter.  The baby trees we planted this past may although they had leaves and are there for good....they are still young and have not weathered a winter yet....so they could use some protection.  What kind of protection should you use?  Well I am going to say what ever you feel  you need.  In NY putting row coveres over small fragile plants is not really an ideal situation...at least I don't think so...we get so much snow I think it would just end up crushing them.  Being this is my first true year of gardening I have chosen to use a ground cover.  This past August we accuired bags of ceder shavings from the fair grounds.  I used these to cover the ground around young plants and over all the gardens that will be planted as edible next year. 

Here is the kitchen garden now covered in wood shavings....on the right you can see some lettuce still growing.  An annual plant that can take a little freezing.  And on the left you can see the broccoli trying to poke thru the shavings.  Also another annual plant that likes the cold. 
 And here is the garden that had the corn in it this year.  After this was taken the pea plants still planted here were removed as they were actually dead.  But underneath the shavings is chives and mint...both Perennial plants.


And here is my now very empty greenhouse.  On the right there are carrots still planted.  Although these are grown as annual plants they are acctually biennial plants.  If left planted for 2 growing seasons they will go to seed.  But in addition to that if planted before the first frost you will have some ready to eat as soon as the ground thaws.  Oregano, Mint, Chives, Lettuce, and Chocolate Mint are also planted in here....though they are hard to see as they are under the shavings.


Although ceder may not be a good choice...although my greenhouse smells wonderful....there is an advantage to this.  Like leaves the wood shavings will become compost.  They will give the young plants still in the ground a few extra degrees of warmth during the winter and also help keep moisture in as the spring thaws the ground. 

Once the gardens are ready for the winter you can start planning for the spring.  Granted you may not beable to get the seeds you wish to plant yet but you can deside where you want to plant them.  How to start them.  And also how many and when you want to plant.  The winter gardener is still busy...it's just a lot of paper work till closer to spring.


Signs of winter in the garden

Just because the garden isn't growing, and blooming doesn't mean there isn't things to look at.  Here are some pictures showing the begining signs that winter is coming to my garden.


Interesting designs on the leaves to one of my rose bushes.


The frost on the tree looks a lot like snow.  Or like one of those plastic trees you see in stores to look like snow.


Another bush showing off it's color as well with frost.  I love how each leaf is different


A stem from my Rose of Sharon bush has frost that stands up....not sure how that happends but hey...it's nature.


One of two leaves left on one of the baby tree's.  Very colorful and even prettier with frost.


My poor pepper plants were dug up Friday in a attempt to save them.  The heater in my greenhouse never turned on due to a faulty power cord.  So they were hit hard with a frost...over 60 peppers were growing throughout the plants and only 11 were able to be saved.  The rest became mush.


Winter can be hard on the garden.  Hard even for the gardener who has to wait till closer to spring to start growing agian.  But it has it's own beauty.

LinkWithin

Related Posts Plugin for WordPress, Blogger...

Gardening Definition of the Day