Welcome - come enjoy my Garden with me

My Garden although it may be small is my garden. I love working in the garden and showing or telling others about it. While you are here take a look around. There is a lot to see. Take a look at the other blogs I love to read. Leave a comment if you like. But most of all. Enjoy your time here, and come back soon.

Friday, September 24, 2010

Harvesting your Tomato seeds

Growing your own vegetables can be a lot of fun! There's alot of planning and hard work just to get it started. If it's your first, third or fourth year, there's one thing you should think about doing. Harvesting your seeds for next years use! Here's an easy and simple way to harvest your own tomato seeds.
 
Find a branch on your tomato plant with flowers that haven't budded yet. The reason for this is that all tomatoes are self pollinating but a few varieties can be cross pollinated by insects and wind.  Cover this branch with cheesecloth or a light polyester fiber.  Remove this cover when fruits begin to develop, tag your stem so you will know which tomatoes you need to pick for your seeds.

I don't do this for one simple reason, my kids would yank the cloth off and it would end up with a torn branch. It doesn't matter to me (really) if my tomatoes are cross pollinated. But if you want to make sure you have a pure harvest of the tomatoes and not a cross cover them .

Now it's time to pick your tomato and save it's seeds, depending on your type of tomato you may need to pick more than one.


Now it's time to cut the tomato in half. Do it across the center, not up and down.

Scoop out the pulp sends

Place them in a dish or jar. Pour a little water in to jar or dish, At least to cover the mixture.

Cover the dish with plastic wrap with some slits cut through the top.

Set the dish or jars away from anywhere you'd be walking. This will start to smell real bad in just a day or two.Let it sit to ferment for 3-5 days till it starts getting moldy. 


After it is covered in mold, carefully scoop the mold out and pour more water into the dish or jar. The good seeds will sink to the bottom. Scoop everything else out and pour remaining into a strainer.

Run under water until the pulp is gone and all you have left is the seeds. Set on a paper towel  and rub any gel that is still around seeds off. Set out to sit for another 3 days.


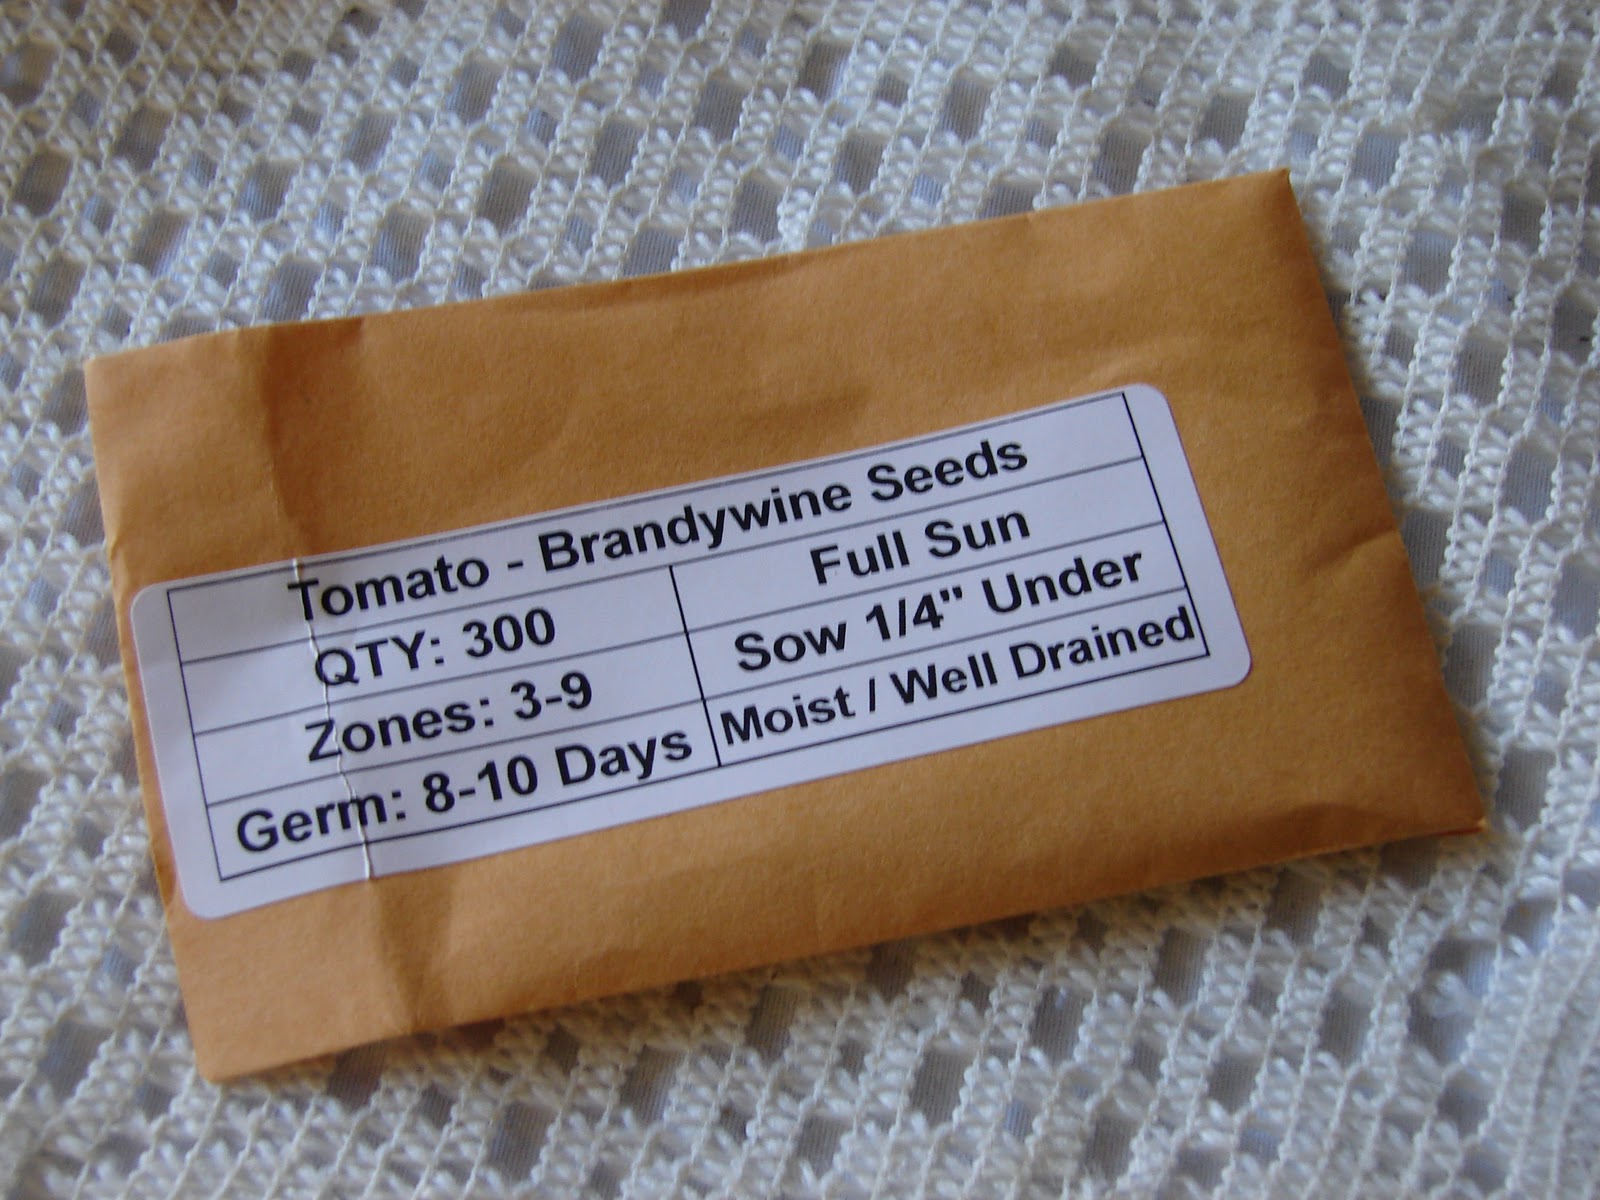
Now that you have your seeds all dried, label them in a small packet for easy usage next year!


Sunday, September 19, 2010

Beans - The life cycle

The fragile begining of the Bean's life. Starting them inside in a mini Greenhouse.  Seeing the little green stems come to life and rise from the dirt.  A very cool begining.  This is just 4 days after sowing.


The Beans are quick to germinate and very quick to show true leaves.  This is 11 days after sowing.  Just a short week after the first sprouts were seen.


Here we have them in the ground in the Greenhouse.  They are doing very well.  This is 2 weeks after sprouting started.  Just one week after true leaves were shown. Day 19 over all.


Nearly 5 weeks have gone by and now there are little white flowers all over the place.  The begining of the fruiting has begun.  Over all this is happening on day 53.


The flowers are still blooming and forming.  Some like this one is being pushed off by the Bean.  Such a tiny little pod.  Very skinny as well.  This is just a mear 5 days after the first flowers started to appear.  Over all we are looking at day 57.


They are starting to fatten up.  This is actually almost 3 weeks after they started to appear.  The coloring is starting to change as well.  Hard to tell at first but you can see that the fatter pods apear to be darker as well. At day 76 they are ready to Harvest....or at least the fat ones are. 


The first harvest.  May not look like much but there is plenty more that will be ready soon.  In fact so that we could have them for a meal I took the harvest each day in immediatly froze them.  Once there was enough for my family I cooked them.  They still tasted fresh and good. 


Signs that the beans are nearing the end of their life.  The leaves started to turn yellow brown like this about a week after my first harvest.  Day 83 over all.  As the next 2 weeks went on I harvested what I could when it was ready.  Eventually though the leaves all started turning and it was time to put the plants to rest.


They gave me a great run.  I got enough for 2 good meals (even some left over still frozen)  Tips for following years is to plant less at one time but plant at multiple times.  The average time from sow to harvest is 55 days.  I was a little over that but hey...I still got to harvest.

Sunday, September 12, 2010

Herbs in the Garden and kitchen

To begin to have your own home grown fresh herbs there are a few things you should know.
1) What herbs you want to grow
2) How and when to harvest them
3) How to store them once harvested
4) How to use them.

Simple steps sure...but so very important. Some herbs can be harvested often some can't. Some have edible flowers others don't. It is good to know before you even prepare the soil and buy the seeds the basic in's and out's of Herbs.


These little beauty's I bought just for my herbs. They have slits to aid in removing the leaves. They come apart for easy cleaning or even to use to chop up the herbs a little. The scissors are laying on a mesh back like you would use for delicates in your laundry. These are great bags to dry your herbs in. In fact it is all I use....they allow for great air flow but keep them contained. I have them hanging in my laundry room.


Some herbs though are best dried in a brown paper bag though so be sure to read up on them first.


Now to store my herbs I chose these small canning jars. I wanted to be able to see the herbs but be able to store them well. So far all the herbs that I have grown and harvested I dried them and put into their own jar.


To harvest most herbs you just simply need to snip the stem. If you are using them fresh like say Parsley or Dill then just snip the leaves. If you are going to dry them I have found it best to snip the stem.


Drying your herbs:

Make sure you have a fairly cool and dry place to hang them. Some can be hung just as themselfs in a bunch. Most I have are like that but I prefer the mesh zipper laundry bags so that as they are drying if the leaves fall off I don't loose em. The drying process can take a few days up to a few weeks. It depends on the weather, where you are hanging them, and well it depends on how they feel.


So how do you know if they are dry? Actually it is pretty easy to tell. Can you break the stem? Not bend it...break it. if so then they are ready. Still not sure? Well try using 2 fingers to slide down the stem past some leaves. If the leaves fall off then you are good to go. If not give it another day or 2.


Once you know they are truly dry I like to use a paper plate to de stem the leaves. WARNING these leaves have a mind of their own and will go everywhere.....a big paper plate it best.


For some herbs like mint just remove the leaves and then place in a sealable jar. Try not to crush the leaves to much. When you use these to cook you crush them at that time and the flavor is stronger. Basil can go either way. I crush some and I don't others. Just depends on how I feel that day.


To take the leaves off you can use just your fingers as they fall right off or you can use scissors like the ones I got. They do work good but sometimes it is just much faster to use your hands.


Here is my Mint all dried, and off the stem. Some is crushed...just a natural part of being in a jar and more put on top. But it's no big deal as it still packs a powerful punch of flavor and smell when used.

More herb and veggie post to come soon....keep a look out for them.

Important things to know and understand Part 2

Most people understand that when starting a garden of any kind there is a certain amount of patience that is needed. The seeds won't sprout over night (usually). The flower won't open the day the bloom appears either. But something else I have learned this past week is that there are other cases where patience in the garden is important. Once again I had to move one of my tomato plants and it appeared to be dying. One to many transplants. But before I got around to pulling the very wilted and dying plant I noticed that it seemed to be coming back to life. A little pruning and care and it's back.

I have expecially noticed this with herbs. As long as you leave the bottom set of leaves when you harvest sure enough they grow back....and sometimes ever bigger and faster than before. Mint is a good one to describe cause you can cut that one back to the ground and new life will begin to grow with in days.

Does your Mint look like it died? Cut as much back as you can...leave a few little spikes above the dirt give it some watering....and wait.

For a new gardener like me waiting is the hardest part. I see the corn....but it's not ready to pick yet. I see the blooms and know that most likely the veggie or fruit will come from that.....but how?

It is very true. Good things do come to those who wait.

LinkWithin

Related Posts Plugin for WordPress, Blogger...

Gardening Definition of the Day